How to Build a Wardrobe in an Alcove: A Practical Guide from a Carpenter
Turning an alcove into a wardrobe is one of the most effective ways to maximise storage without compromising on floor space. Whether you’re dealing with the empty space beside a chimney breast or a recessed wall, a bespoke fitted wardrobe can make that awkward gap a functional part of the room.
At MJ Kloss Carpentry, we’ve spent years building wardrobes in alcoves across all kinds of homes. If you’re tackling a DIY alcove wardrobe, this guide covers everything from planning to finishing, with practical advice that’ll help you avoid common mistakes.
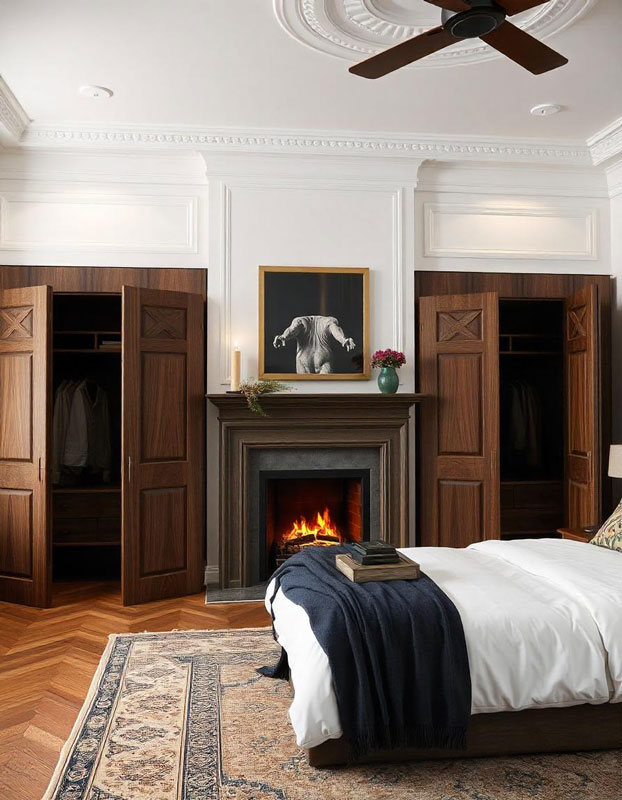
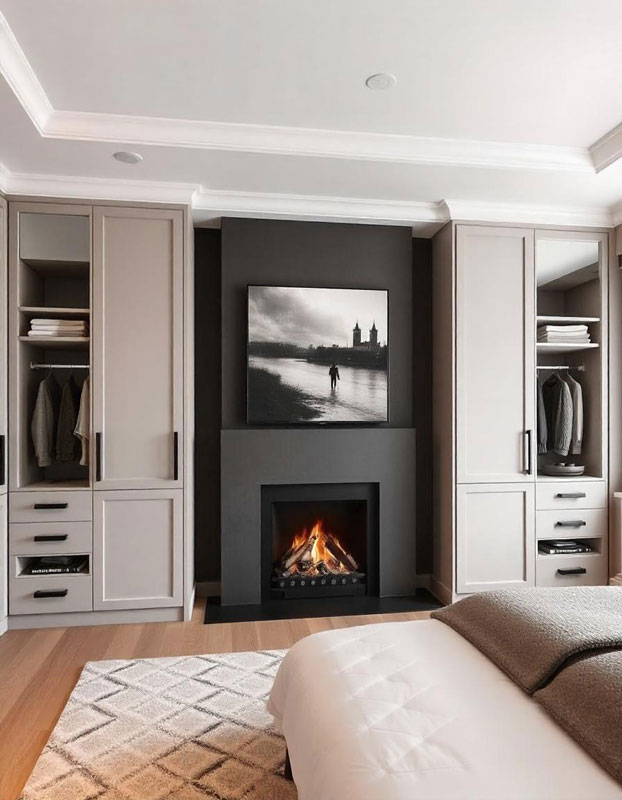
Why Build a Wardrobe in an Alcove?
Building a wardrobe in an alcove makes the most of a space that might otherwise go unused. Unlike freestanding wardrobes, a fitted solution blends into the architecture and gives you full control over the layout inside. Whether you’re storing clothes, linen, shoes or even files and tech, you can create something tailored to your needs.
It also adds value to your home. A professionally built alcove wardrobe looks permanent, works hard, and adds character.
Planning: What to Consider Before You Build
Before you get started, take a bit of time to think through the following points:
1. Alcove Size and Shape
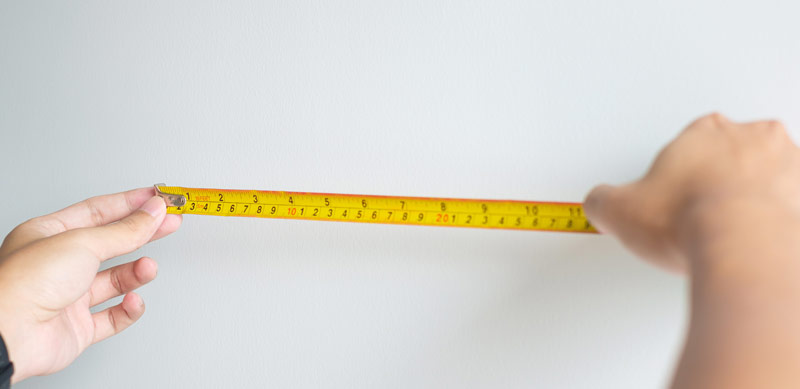
Measure your alcove at the top, middle and bottom – walls are rarely square, especially in older properties. If there’s coving or skirting, decide whether to work around it or build over it. Always check the depth too, especially if you want full hanging space.
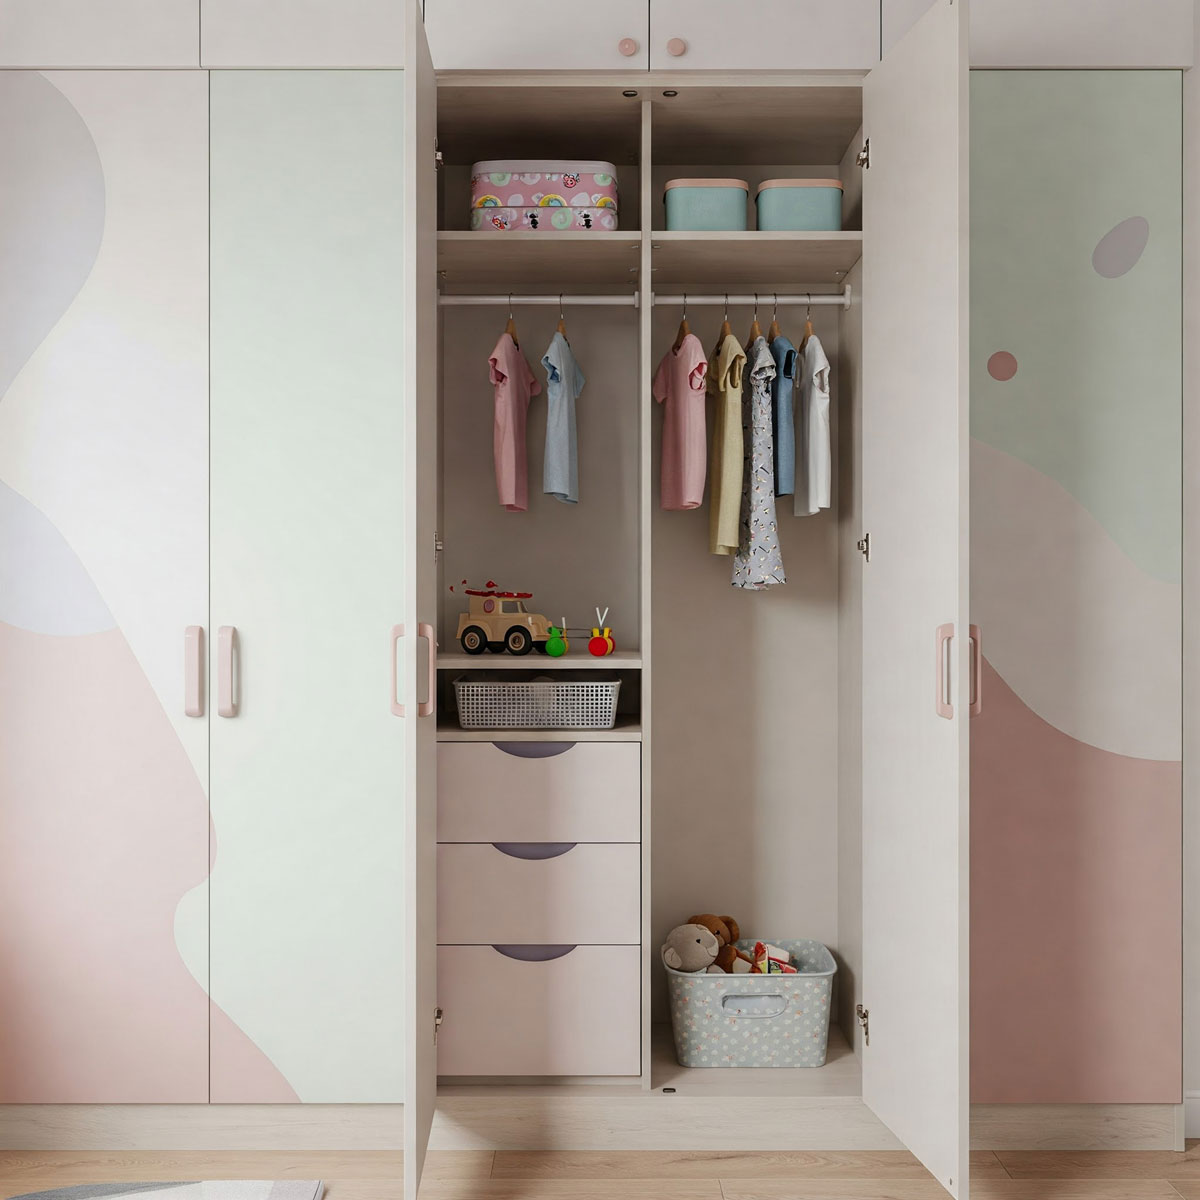
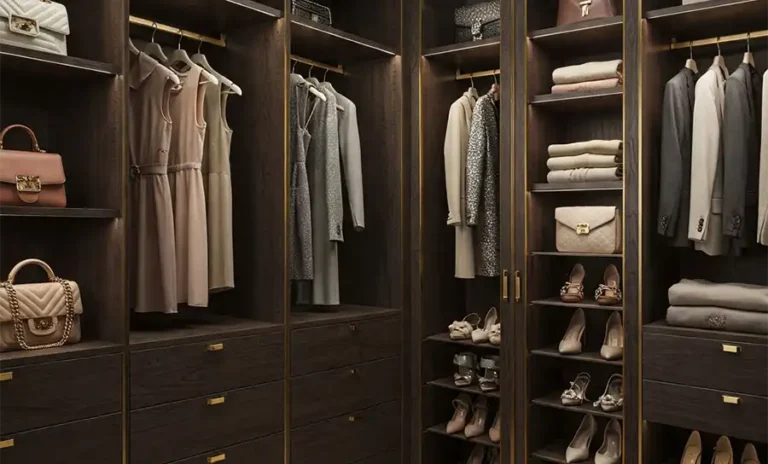
2. Storage Layout
Sketch out what you need. Double hanging rails for shirts and trousers? Long hanging for dresses? Deep shelves for bedding or baskets? You’ll want to build to suit your day-to-day use.
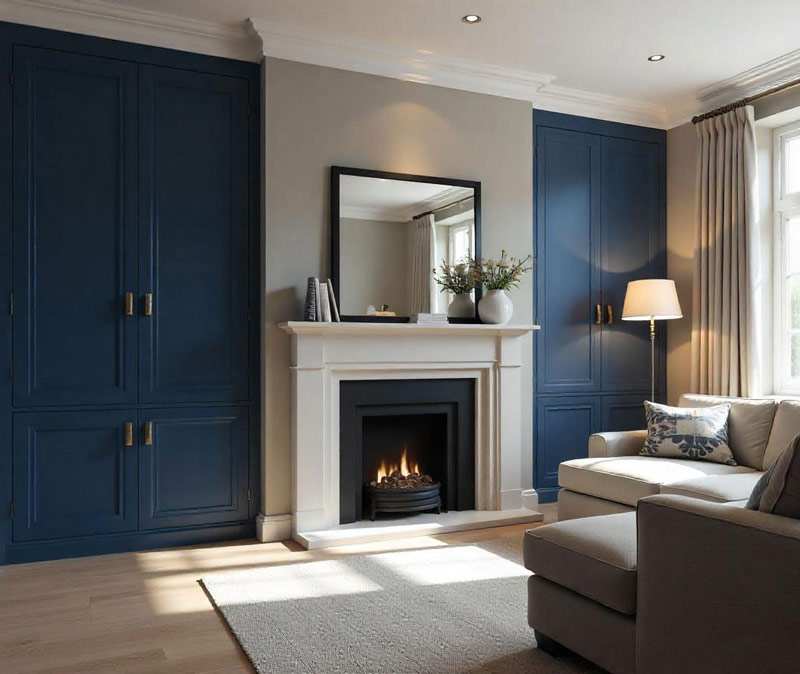
3. Style and Materials
Are you after clean, modern doors or something more traditional? Painted MDF is common for a clean finish, but birch ply or veneered MDF can add warmth. For doors, you can go for shaker-style, flat panel or even tongue-and-groove depending on the look you’re after.
4. Doors or Curtains?
Not all diy alcove wardrobe builds need doors. If you’re working to a tight budget or want a more casual look, a curtain rail can do the job. For a more built-in feel, hinged MDF doors are a solid choice and can be painted to match your walls.
5. Access for Assembly
If you’re working in a tight hallway or loft room, measure up the access route. You might need to build your wardrobe frame in place rather than assembling panels elsewhere.
Step-by-Step: How to Build a Wardrobe in an Alcove
This step-by-step method works whether you’re building a basic storage unit or a full-height fitted wardrobe with custom doors.
Step 1: Measure and Mark Out
Measure the full width, depth, and height of your alcove. Mark out on the wall where your base frame, vertical supports, and top panel will go using a pencil and spirit level.
Step 2: Build the Base Plinth
Use 2×2″ or 3×2″ timber battens to build a simple frame on the floor. Screw it into the floorboards (avoid pipes or cables), then top it with MDF or ply to create a sturdy base. This lifts the wardrobe slightly off the floor and gives a level platform.
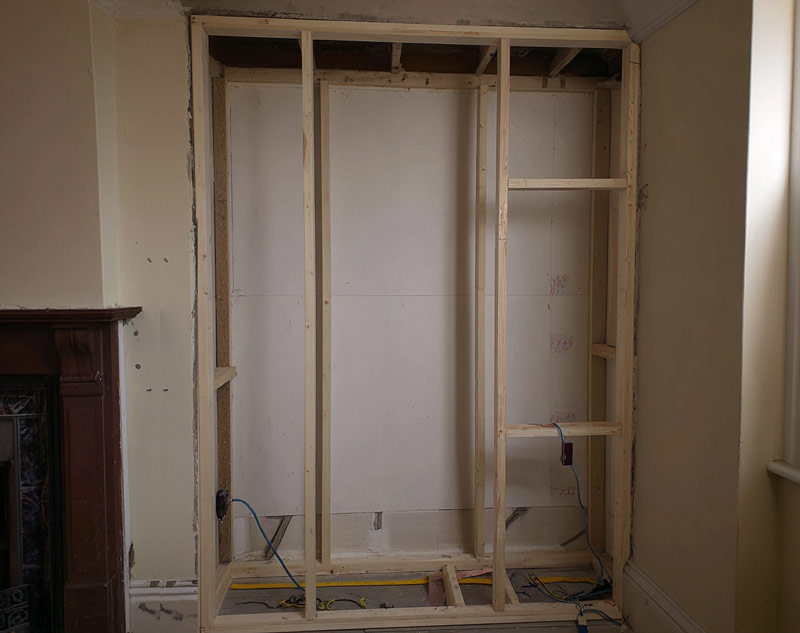
Step 3: Add Vertical Supports
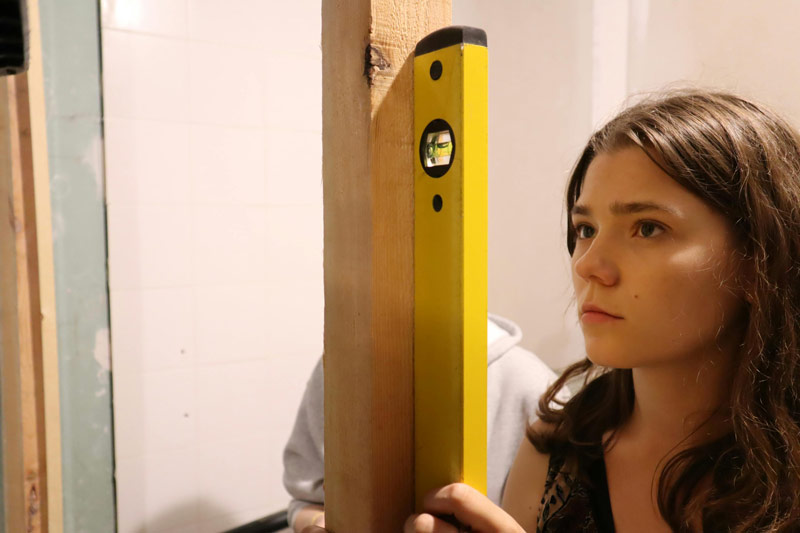
Fix timber battens to the back and side walls where your side panels will attach. If you want internal sections, you can frame those with vertical battens too. Check for plumb at every stage.
Step 4: Cut and Fix Side Panels (Optional)
If the walls are straight, you can fix doors directly to battens, but many DIYers prefer to add full side panels for a cleaner look. Scribe these to the wall if needed to account for wonky plasterwork. Fix them using screws into the timber battens.
Step 5: Frame the Top
Screw in a top panel flush with the front of your alcove. This completes the external frame. You can also add a small timber support in the middle if you’re adding sliding doors or a central rail.
Step 6: Build Internal Sections
Add shelves, hanging rails or drawers according to your layout. Use pocket hole screws or timber supports fixed to the sides to hold your shelves in place. Make sure rails are at the right height for the clothes you’re storing.
Step 7: Fit the Doors (or Curtain Rail)
Cut your doors from MDF or use pre-made ones. Use concealed hinges or butt hinges and fit them evenly. Adjust gaps so they’re consistent and allow doors to open without rubbing. Alternatively, a curtain rail fixed to the inside of the top panel can keep things simple.
Step 8: Add Trims and Fill Gaps
Use decorative moulding or architrave to cover gaps between your wardrobe and the wall. Caulk and fill all screw holes, then sand everything smooth.
Step 9: Prime, Paint and Finish
Prime all MDF surfaces to seal them. Then apply two coats of paint in your chosen finish – satinwood and eggshell both work well on wardrobes. Finally, fit handles or knobs and give everything a final clean.
Turning Alcove into Wardrobe: Tips From Experience
Use a level constantly. Even a small slope in the wall or floor can throw things out, especially with doors.
Leave expansion gaps. Timber can shift slightly over time. A few mm gap between wall and panel can prevent cracks.
Think about future access. If your wardrobe covers sockets, routers or heating valves, make sure you include a way to access them.
Final Thoughts
Building a wardrobe in an alcove is one of the most satisfying DIY carpentry projects. It makes a real difference to how a room feels and functions. With careful planning, the right materials, and a bit of patience, you can build a wardrobe in an alcove that’s both practical and well-finished.
Not everyone has the time or tools to do this properly. If you’d rather leave it to the professionals, we specialise in custom-fitted wardrobes and alcove joinery across London and the surrounding areas. Just get in touch if you’d like a quote or some advice on what’s possible in your space.